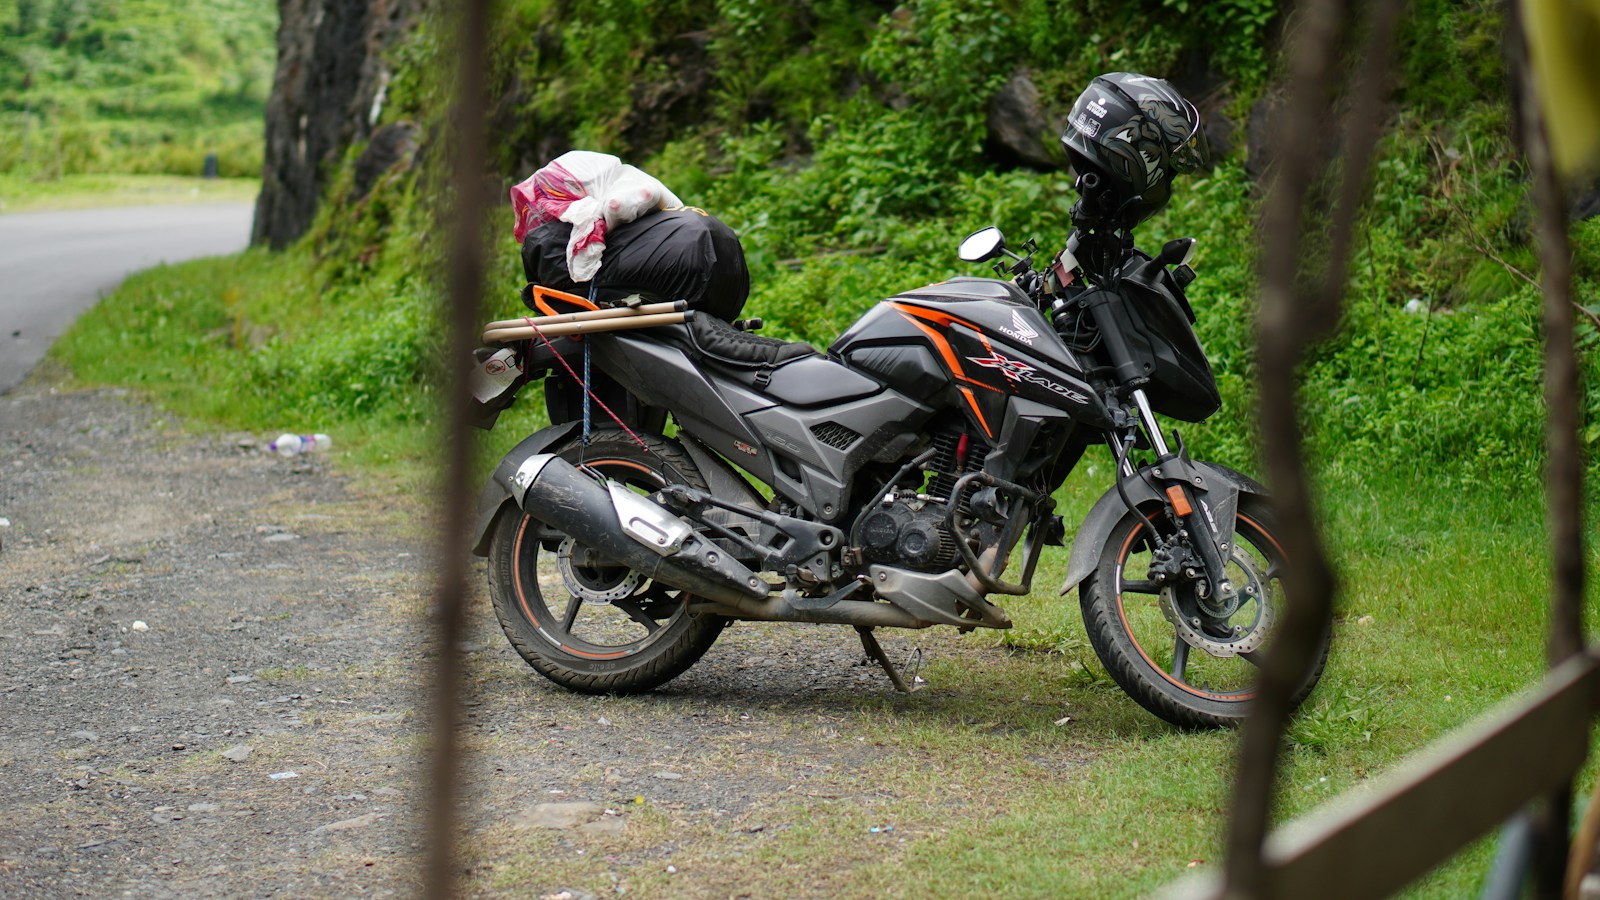
A good motorcycle road trip plan is not the route with the most coloured lines on a map. It is a plan that still works when a pass closes, rain halves your pace or a fuel stop is shut. The objective is to protect the parts of the trip you care about while leaving enough margin to ride safely.
This guide turns a route idea into a day-by-day plan. It covers realistic riding time, fuel range, weather, navigation, documents, maintenance and the final shakedown ride.
1. Start with the purpose, not the mileage
Write one sentence that describes the trip. “Ride the central Alps with time for four major passes” produces a different plan from “reach Nice in three days.” The first prioritises roads and weather flexibility; the second prioritises reliable progress.
Choose at most one or two anchor experiences per day: a pass, museum, ferry, viewpoint or town. Everything else is optional. This prevents a delayed morning from turning the afternoon into a race against a hotel check-in.
Define these five constraints first
- Total days, including the journey home.
- Rider with the least experience or shortest comfortable range.
- Motorcycle with the shortest fuel range.
- Fixed bookings such as ferries or events.
- Road types the group will and will not ride.
2. Plan riding hours before daily distance
Distance alone is a poor measure of a motorcycle day. Two hundred kilometres of alpine hairpins, villages and photo stops can take longer than twice that distance on a motorway. Build the day from expected moving speed, planned stops and a margin for fuel, food and wrong turns.
The Motorcycle Safety Foundation’s operator manual notes that riding is more tiring than driving. Its long-trip guidance says experienced riders seldom plan more than about six riding hours a day and recommends getting off the motorcycle at least every two hours. Treat that as an upper planning reference, not a target to reach.
For a scenic day, four to five actual riding hours normally leaves useful time for stops. A transfer day may contain more distance, but should not also carry the hardest pass or most technical road. If the schedule only works at the speed limit with no delay, it does not work.
3. Build an A-route, a shorter B-route and an exit
For every important day, save three options:
- A-route: the intended scenic route in suitable weather.
- B-route: a shorter or lower-elevation alternative that preserves the destination.
- Exit route: the fastest reasonable way to accommodation if weather, fatigue or a mechanical issue develops.
Mark decision points before departure. A junction at 11:00 is useful; discovering at 16:30 that the only alternative adds three hours is not. On mountain trips, check the road authority responsible for each pass rather than relying on a generic map’s “open” label.
4. Calculate fuel from the weakest range
Use measured touring consumption, not the manufacturer’s ideal figure. Start with the smallest usable range in the group, reduce it for headwind, luggage, cold conditions and sustained high speed, then place fuel stops inside that conservative number.
Do not make the final station before an isolated section the point at which the low-fuel light normally appears. Save at least one alternative station and note opening limitations in rural areas. If the route crosses borders or remote regions, verify whether card-only pumps require a PIN and whether every rider’s card works abroad.
MSF’s multi-day travel guidance specifically recommends noting fuel stops so the motorcycle’s range never enters the danger zone. A quick fuel stop is also a natural moment to drink water, assess alertness and check luggage straps.
5. Check weather along the route, not only at the hotel
A town forecast does not describe a pass 1,500 metres higher or a coast reached six hours later. Review forecasts at the expected location and time, then compare them with official road-status information. The US National Weather Service’s travel tool illustrates the right method: forecasts are attached to road segments and time periods, while current conditions still come from the relevant transport authority.
Set a personal stop rule before bad weather arrives. Examples include lightning close to the route, standing water, freezing conditions at elevation or visibility too poor to read the road. A pre-decided rule is easier to follow than a decision made while cold and committed to the schedule.
Our separate guides cover wet-weather technique and cold-weather riding. Neither should be used to justify continuing when conditions exceed the rider’s skills or equipment.
6. Prepare the motorcycle for its loaded condition
Complete maintenance early enough to test the result. A trip should not be the first ride after major work, a new luggage system or unfamiliar tyres. Load the motorcycle as it will travel and take a shakedown ride that includes braking, low-speed turns and a rough section of road.
Use the MSF T-CLOCS inspection as a structured check:
- Tyres and wheels: condition, cold pressure, brakes, bearings and spokes or rims.
- Controls: levers, cables, hoses, steering and throttle return.
- Lights and electrics: battery, lamps, signals, switches, mirrors and wiring.
- Oil and fluids: correct levels and any sign of a leak.
- Chassis: frame, suspension, chain or belt and fasteners.
- Stands: condition, springs and retention.
Set tyre pressures and suspension for the actual load using the motorcycle and tyre manufacturers’ guidance. Secure heavy items low and close to the centre of the motorcycle. Nothing should interfere with steering, suspension travel, exhaust heat or lights.
7. Make navigation survive a failure
Save the route for offline use before leaving reliable coverage. Keep the day’s destination, accommodation address, fuel stops and key decision points in a form that does not depend on one live data connection. A second phone, dedicated navigator or a small paper overview is enough to recover from a failed mount, flat battery or corrupted route.
Review how the navigation app handles ferries, toll roads, unpaved roads and seasonal closures. “Avoid highways” can create excellent riding, but it can also produce unsuitable farm tracks or an impossible arrival time. Inspect critical sections at a useful zoom rather than accepting an automatic route without review.
8. Verify documents and cover country by country
Carry the driving licence, vehicle registration, proof of insurance and the travel document required for every border. A driving licence is not necessarily accepted as a travel identity document. Riders leaving their home insurance area should confirm third-party cover, optional damage or theft cover, roadside assistance, repatriation and exclusions directly with the provider.
Within the EU, compulsory third-party motor insurance issued in one member country is valid across the EU. Optional cover does not follow one EU-wide rule and may contain time, distance or country limits. Rental riders must disclose every country they intend to enter so the rental company can supply the correct permission and documents.
Download policy numbers and emergency contacts for offline access. Keep a second copy separate from the original documents, while remembering that a photograph does not automatically replace a legally required original.
9. Pack for access, not maximum capacity
Place documents, water, rain layer, warm layer, first-aid kit and puncture equipment where they can be reached without unloading the motorcycle. Separate the items needed during the riding day from clothes used only at accommodation.
Remove duplicate “just in case” objects after the shakedown ride. The full motorcycle touring packing checklist covers tools, clothing, camping equipment and documents; this planning guide only determines where and when those items are needed.
Long exposure to loud sound can damage hearing. The CDC recommends reducing exposure and using correctly fitted hearing protection when noise cannot be avoided. Choose protection that still allows the rider to remain aware of traffic and warning sounds.
A practical 48-hour checklist
- Recheck weather, closures, ferry notices and the first two days of fuel stops.
- Complete T-CLOCS and inspect luggage attachments after the loaded test ride.
- Download offline maps and send the itinerary to an emergency contact.
- Confirm the first night’s arrival instructions and secure parking arrangement.
- Charge navigation, phone, intercom and backup battery.
- Sleep properly; do not create fatigue by packing late into the night.
- Leave enough time on day one to correct a packing or equipment problem.
Official planning sources
- Motorcycle Safety Foundation — T-CLOCS inspection checklist
- Motorcycle Safety Foundation — Motorcycle Operator Manual
- Motorcycle Safety Foundation — multi-day motorcycle travel planning
- US National Weather Service — route and time-based travel forecast method
- Your Europe — motor insurance validity abroad
- Your Europe — travel documents for EU nationals
- CDC — preventing noise-induced hearing loss